
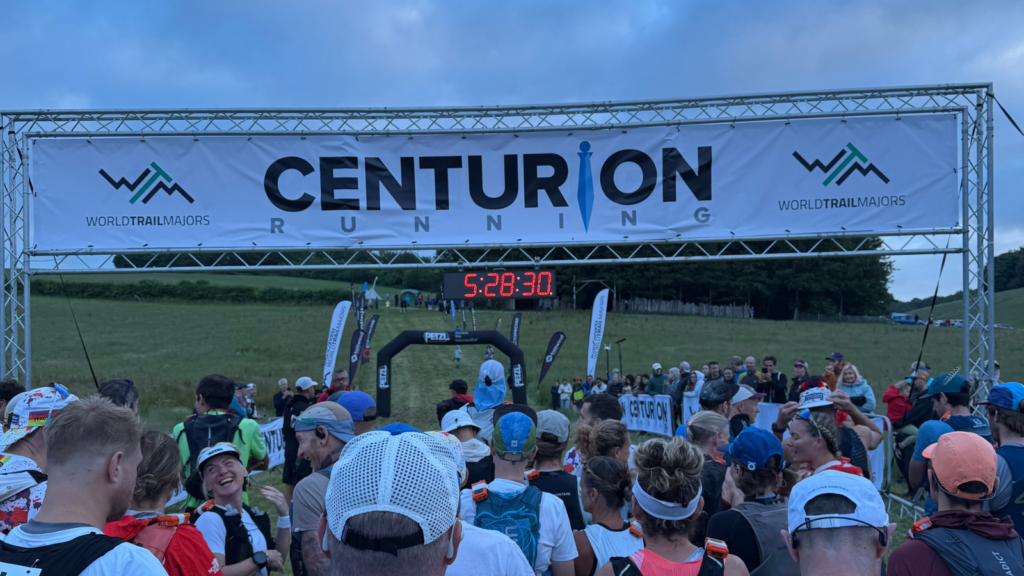
South Downs Way 100
Matterley Bowl, Hampshire → Eastbourne Sports Park
- Distance
- 100.0 mi / 160.9 km
- Course
- Point-to-point
Distance
100.0 mi / 160.9 km
- Date 12 June 2027
- Start time 05:30
- Cut-off 30
- Climb 3,800 m
- Entry fee £220
- Field limit 600
The South Downs Way 100 is Centurion Running’s signature event and one of the fixtures on the UK ultra running calendar. On this page I go through my experience running the race including when is best to register, the course, what’s so good about the aid stations and how I rated each crew point.
Getting to the start
I decided to pick up my number the night before and was sure to remember my running pack that I was wearing on the day. The email instructions sent in the lead up to the race made it simple to find the turning on the A31 and I’ve included the screenshot from the email below.
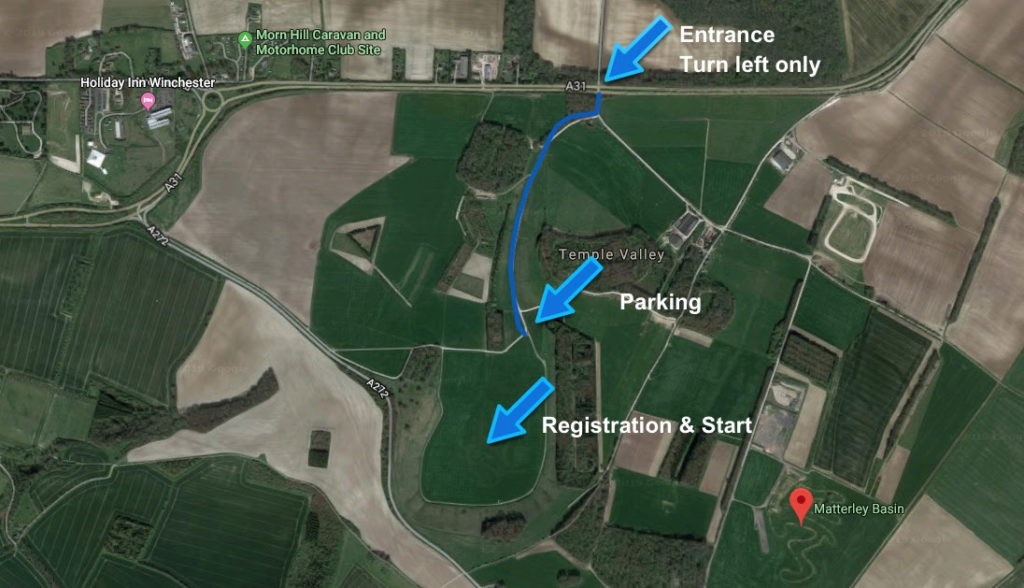
After finding the entrance off the main road, it’s roughly a five minute drive down a farm track that is complete with plenty of pot holes. The helpful volunteers will then look after you and help you to park on the grass close to the start area. It was the same procedure on both the Friday evening and Saturday morning.
How to pick up your number and tracker?
Numbers and trackers are available to pick up in the registration tent in the start area. It initially opens up on the Friday evening prior to the race and then reopens the following morning in the hours to precede the start.
Whilst looking at the long side of the registration tent, I was directed to enter to the right hand side. Once inside, I got my number from the desk on the right and then went through to pick up my tracker. Your tracker is then taped to your pack. Finally, if you have a crew or pacers then visit the table by the exit to pick up the car pass and bibs.
I found the operation inside the tent was seamless and attests to the professionalism of Centurion. After exiting the tent, you’re photographed with your number and this is then displayed in your online tracker.
Can you camp by the start?
Yes and it’s free. All that Centurion ask is that you clear your tent before 06:30am on the day of the race. Basically, before you start. They also allow camper vans at the start and I saw most of these parked at the bottom of the car park where the ground is flat.
What else is in the start area?
The start area is a reasonable size without feeling overwhelming. There was a mini version of the Centurion store in the start area alongside a number of other stalls from sponsors like Precision Fuel & Hydration and Petzl. There were also a handful of food vendors. All of these options are available on both Friday and Saturday.
Pick up your number and tracker the night before, if you can. Heading back the next morning, it was all familiar from the night before plus picking up my number and tracker the day before meant I felt calm – I would definitely recommend doing the same.
The route – the first half
As a lover of the South Downs Way, in my opinion this is the ultimate route and a perfect one for a first 100 miler. It offers enough elevation to present a challenge whilst at the same time not being as difficult as ultras taking place on mountainous terrain.
The race starts at Matterley Bowl where you do a loop of the lower bowl before going round the upper bowl and then onto a section around the Matterley Estate. You eventually come back towards the starting area before an uphill section takes you to the point at around six miles where the course joins the South Downs Way (SDW).
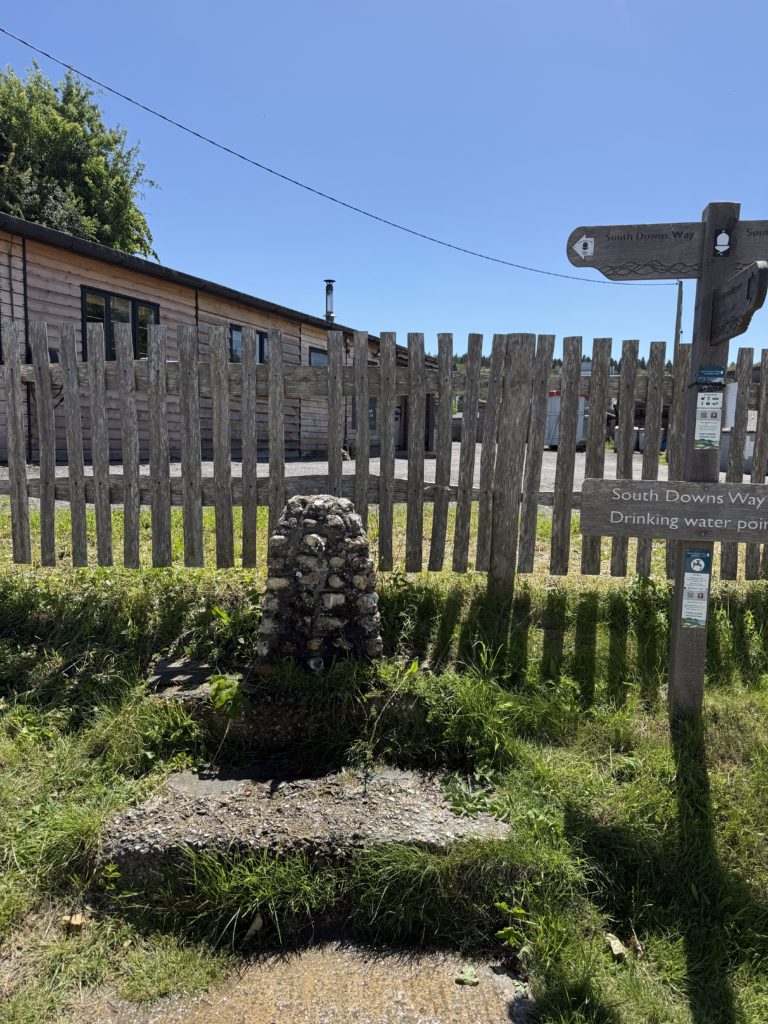
From there you run along gently undulating terrain until Holden Farm. There is a water tap at the cafe here if you need it. Otherwise continue on and follow the signs for the South Downs Way.
Just before you hit the nine-mile mark, you come to a main road where you briefly run alongside it before a left turn and another three quarters of a mile running on or alongside the main road. It’s then back onto the trail.
Shortly before arriving at the first aid station at Beacon Hill Beeches, there is a water tap on the left hand side. If you only need to top up water at the aid station, it may be easier to top up your bottles here and bypass the aid station entirely. Although it is on the route, so I’m not convinced this would save too much time.
Following the aid station, you’ll come to the top of Beacon Hill and one of the best views on the entire route. There’s then a couple of gates to negotiate and a steep downhill before an undulating run across fields brings you to the village of Exton. You’ll be on the road now and after crossing a busy road it’s back onto the trail to commence the very gradual climb to Old Winchester Hill. Follow the SDW signs and you can’t go wrong.
In a couple of miles you will take a sharp left turn and up a very steep climb where your poles will come in handy. You then continue to climb gradually before reaching a car park where the SDW continues across the road.
At this point you’re over 16 miles into the race and around seven miles out from Queen Elizabeth Country Park (QECP), the second aid station and first crew stop. In around 200 metres, you take a sharp right turn and then a steady downhill section of around 500 metres. Following a flat section, you’ll arrive at Meon Springs Fly Fishery where there is another water tap. On a hot day this is a good place to fill up as you’re around five miles from QECP.
You’re then onto a main access road to the Fly Fishery from where you take a left up a gravel track and it’s then mostly uphill until you hit mile 20 at the Sustainability Centre. There is a water tap here, but I’ve not used it before and you’re only three miles out from QECP at this stage.
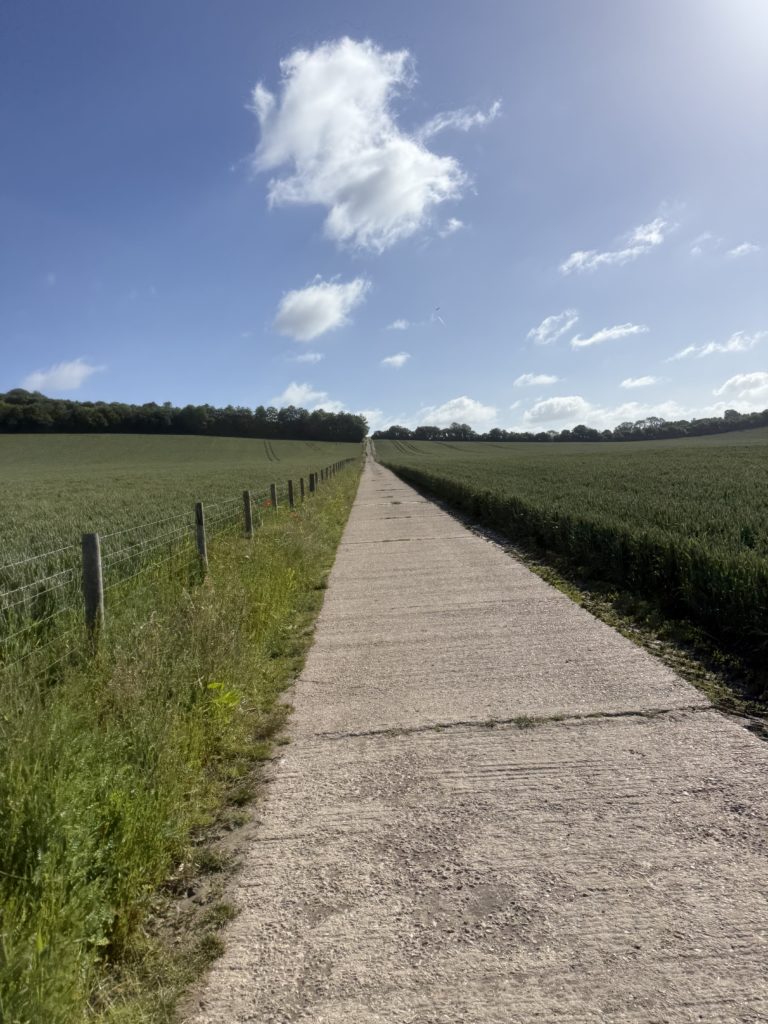
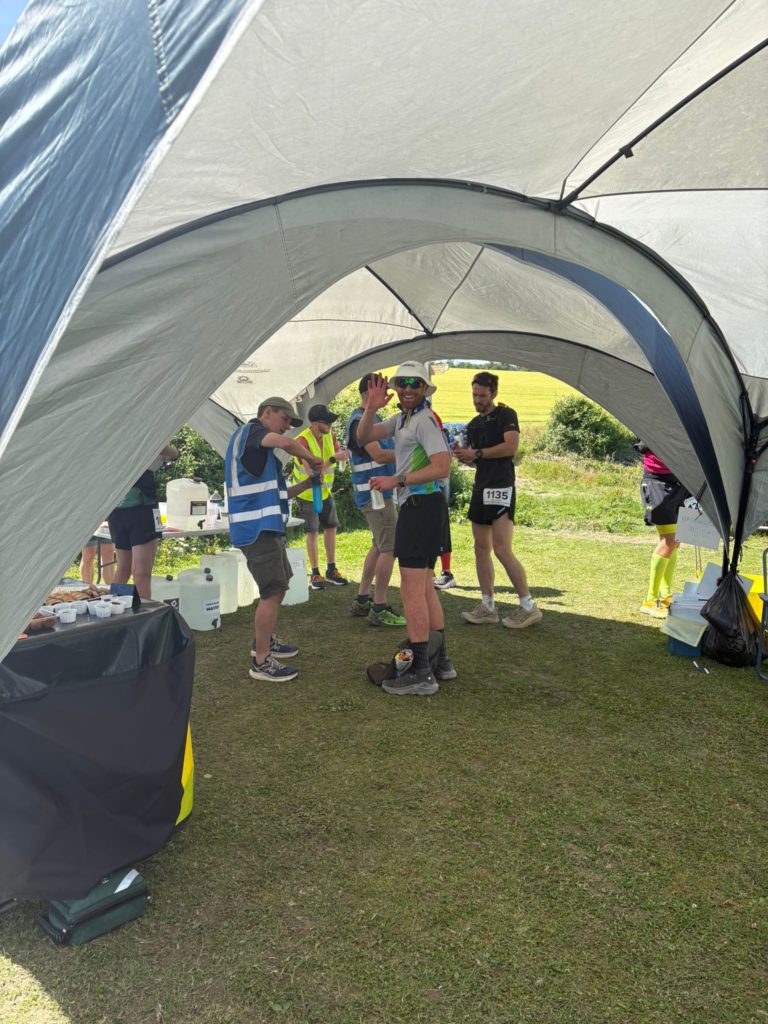
The next part up to QECP is straightforward with some much needed shelter under trees. After a while you’re back onto the road and then Butser Hill. When you get to the top, let your legs go and you’ll reach the crew point in a couple of minutes. The aid station is then situated directly after this and one of the larger ones that you’ll see out on the route. Fuel is available as you arrive and then there are two portaloos towards the back of the aid station.
You leave the aid station through a narrow pathway that eventually leads to a road passing under the A3 trunk road and into QECP. Be careful on this part as the South Downs Way takes an uphill route through the woods before descending back down again to another car park. Anyone who has done the parkrun here will recognise this part and on the day of my race, the popular Saturday morning pastime had just finished.
From here you get some good respite from the sun by running through the woods and you then hit an undulating section of gravel paths that eventually leads to the next aid station. It’s worth being careful on this section as the ground is jagged in places and I’ve known people who have fallen over quite badly on this part.
The South Harting aid station is not long after QECP, yet I would recommend you stock up on fluids and gels. Cocking, the next station, is over seven miles further along and the majority of the section is exposed to the sun.
After the aid station, there around a mile further of gravel before an uphill section through the woods brings you to the main road that runs past Harting Downs crew point. I have good memories of this particular location from South Downs Way Relay recce runs and it’s easy to access for crew members.
Once you’ve bid your crew adieu, after around a quarter of a mile you’ll get a beautiful view of the village of South Harting down below. After descending into a bowl, remember to take a sharp right turn to stay on course and not the very steep hill straight ahead of you. After a steady uphill you’ll eventually descend back down before taking a very steep up and down that ends in some woods.
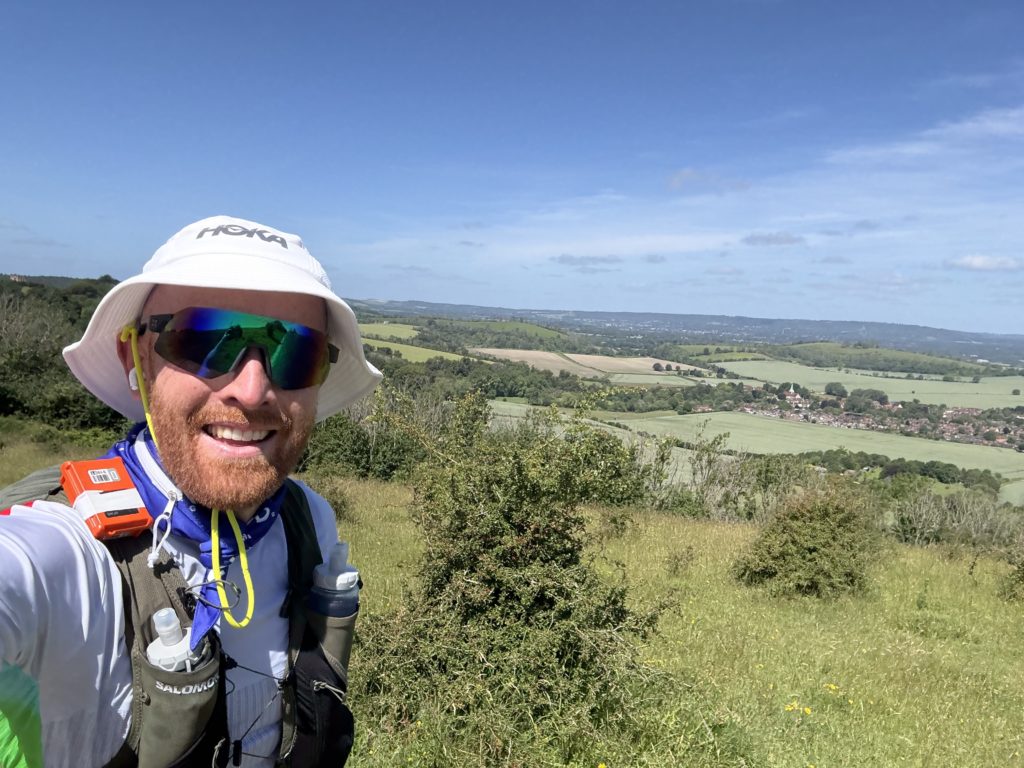
Follow the path and you end up at a left turn quickly followed by a right, where it can be easy to go wrong. You then take an uphill path where you’ll end up in woods, which acts as a nice respite from what will now likely be a warm day. You then get back out into the open and after a couple of miles of undulations, you hit a mile of downhill running into the aid station at Cocking.
There is a Cadence Clubhouse before around 500 metres before the aid station and on the back right of the building sits a water tap. If you’re hot, this is the perfect place to get your head under the tap or soak your hat.
Take caution crossing the main road and then you’re into the field that contains both the aid station and crew point at Cocking. The aid station is up first before the crew vehicles, which are all alongside the route in the field. This makes it one of the best locations to meet your crew, access your gear in the vehicle and then get back on the run again. If you need the toilet, there are portaloos located conveniently at the top of the field. Plus there’s a tap as you exit the field on your right hand side.
Whilst the distance between the aid stations at Cocking and Houghton Farm is not the longest, the combination of the weather and lack of shade later in the section makes it feel that way. The first section starts with an uphill that starts immediately after the aid station. Once you hit the top, it’s runnable for the most part with one deviation off what feels like the natural ‘path’.
Eventually you’ll get to a long descent where you will arrive at a Cadence cafe at the bottom, which is the perfect mid-point to top up on water. More on that in the crew point section below.
Go across another main road and then it’s more uphill almost all the way to the remote crew point at Bignor Hill, which is only 1.2 miles from Houghton Farm and I’d advise waiting until then. The next section descends into a farm and this felt like the warmest point of the day. Like when you first walk down the stairs off a flight that has arrived in Spain during summer.
Get through this and you’re almost at Houghton Farm and the halfway point. The final half a mile or so before the aid station is a steep downhill that can get a bit sketchy so concentrate. This aid station location is another that sits directly next to the crew point. You hit the aid station first and the back entrance leads directly to the crew point where again you can access your vehicle.
Access the course by going back through the aid station and then head towards the river. Around the river itself, it’s one of the few places where I encountered other walkers and mind out for rutted ground from the rain earlier in the year. Cross the bridge, head right and then not long after take a left to follow the SDW sign.
You’ll then be into a short section between farmers field and another water tap over a trough will appear on your right hand side. This is another good place to cool off and one that I used when running a recce on this section. Keep going over the railway bridge that leads to the main road and a path separated from the road by a hedge. Cross the road and follow the path before a left that takes you onto an uphill tarmac section.
It’s all uphill from here for around a mile with a significant ascent where I used my poles on the day. After this you hit mostly undulations for the next couple of miles and it isn’t long until you hit the crew point at Kithurst Hill, which is the first opportunity to pick up a pacer.
The route – the second half
After leaving Kithurst Hill, it’s not long until you hit the next crew location at Chantry Post around a mile further along the trail. Another one where the trail fairies are known to be out in full force with yet more ice pops. Following on from there you take a slight uphill for a couple of miles before a sharp left turn signposted as the South Downs Way. You’re unlikely to miss it as the sign is large.
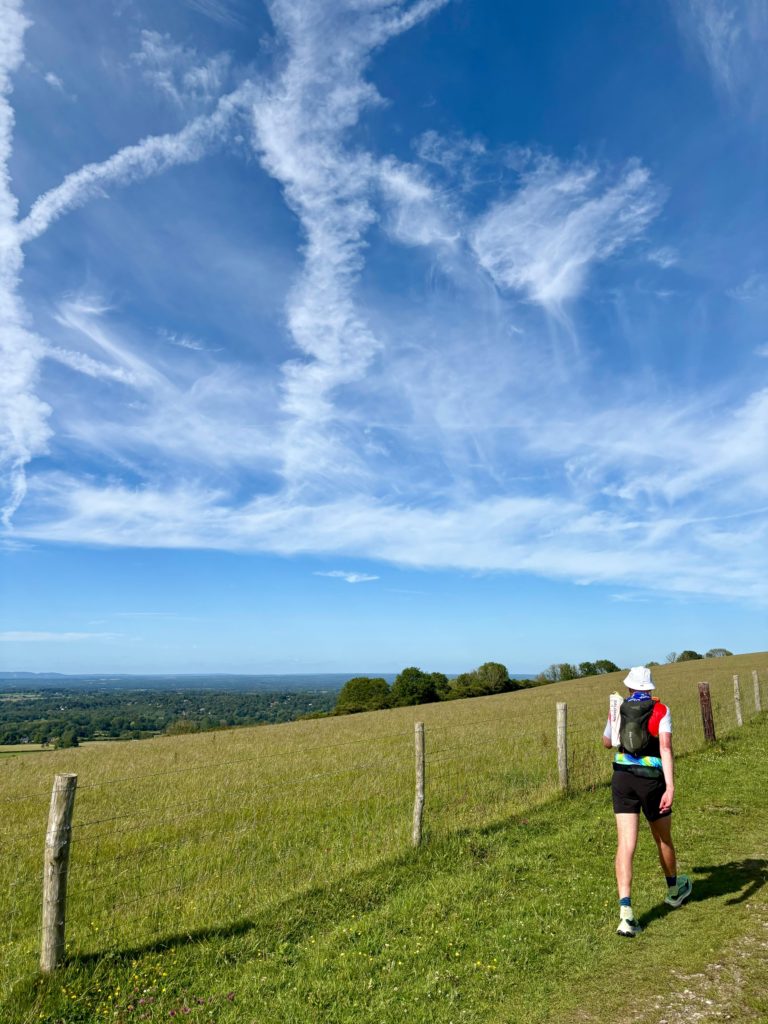
You’re now on the fast descent into Washington aid station on a chalky track that is rutted and somewhere that you should take extra care. The final half mile of the descent is under tree cover with a few speedbumps that would be easy to miss in the dark.
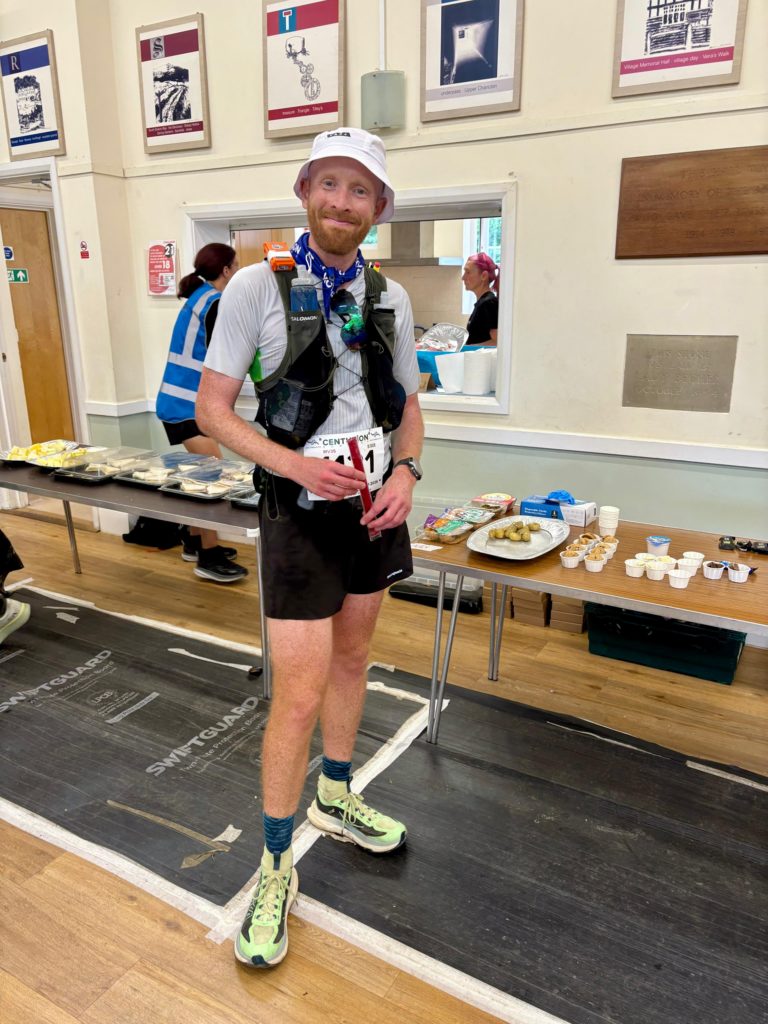
Once at the bottom you pass a house on your right and eventually turn right onto a road. You’ll then pass over the A24 trunk road, a church on your left and then be directed down a steep road into the aid station. This is one of the larger locations and inside a village hall with toilets. If you have a drop bag, you can access it here and there’s even hot food.
On exiting the aid station, you head back up the same steep hill and turn left at the top before going right at the end of the road. There’s then a gap in the hedge on the left where you rejoin the main trail in a farmer’s field ahead of the only stile on the entire course. The woods following this provide a nice respite from the sun, although it was overgrown in places. You’ll eventually reach a small opening, which is the location of the Washington crew point. You can access your crew anywhere in this general area.
Following the crew point, steel yourself for a long climb uphill where you get to a left turn onto the SDW. This is just before the ancient hill fort of Chanctonbury Ring and it’s also the point the courses of the South Downs Way 50 and 100 meet.
You follow the route along the side of some woods before reaching a gate that leads to a short downhill. There’s then a decent section of undulating chalk path that is rutted and flinty in places. I came a cropper up here and it’s worth watching your footing carefully.
The path ends at the Langmead Memorial and another short downhill that leads to a road crossing. Run alongside the road for a few minutes before taking a left turn into another field. In the distance you’ll spot the notorious pig farm and it’s only a couple of miles from here to the next aid station at Botolphs.
After passing the pig farm on your right, it’s downhill almost all the way to the aid station. Just remember when you get to the road to turn right and follow it down the hill. There’s a small car park where you pass through and the aid station is a matter of seconds further along.
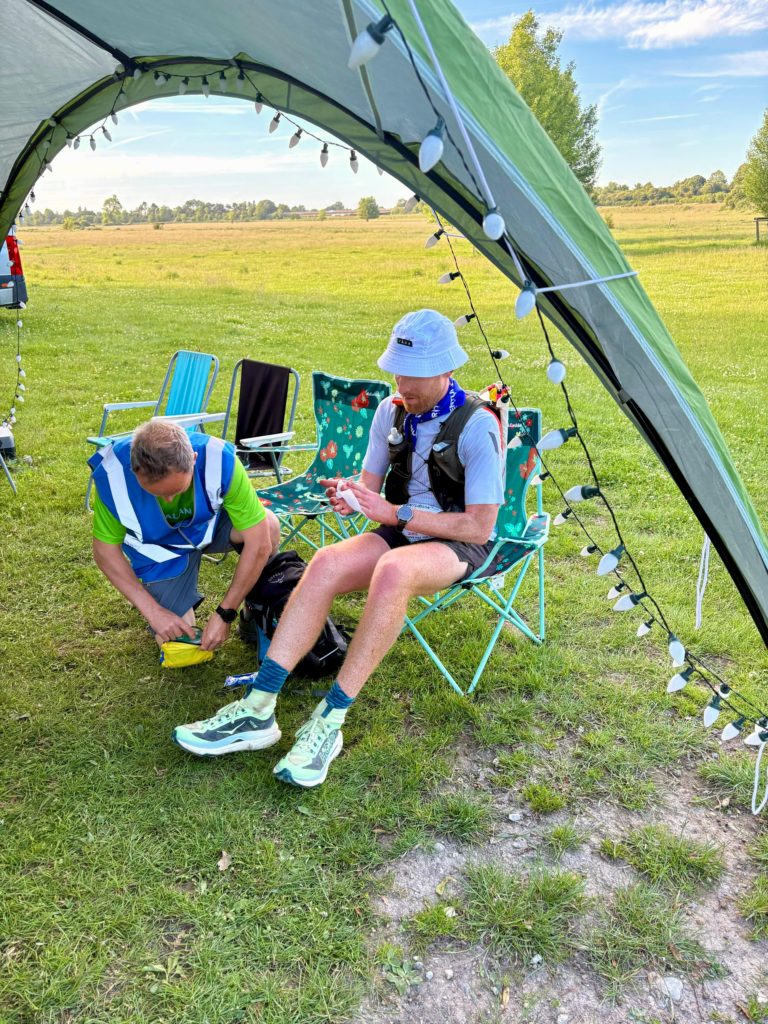
Exit and follow the path until you reach the River Adur. Cross the bridge and continue straight ahead. There’s a bonus water tap in the shade on the right and then a busy road crossing with a marshal directing you. The climb up Beeding Hill on the other side of the road is tough and is a place where I got the poles out. It’s pretty much uphill all the way to Truleigh Hill YHA, which is well on the way to the next crew point at Devils Dyke.
Taps and toilets at Truleigh – there is no toilet at Botolphs, but Truleigh Hill YHA is a mere 20-minute run further along and is a good option.
After Truleigh Hill there are three hills and it’s after the final one that you’ll catch sight of the crew point in the field up ahead. Many runners change pacers here and this is something I did on the day, with my second pacer joining for the short stint to Clayton Windmills.
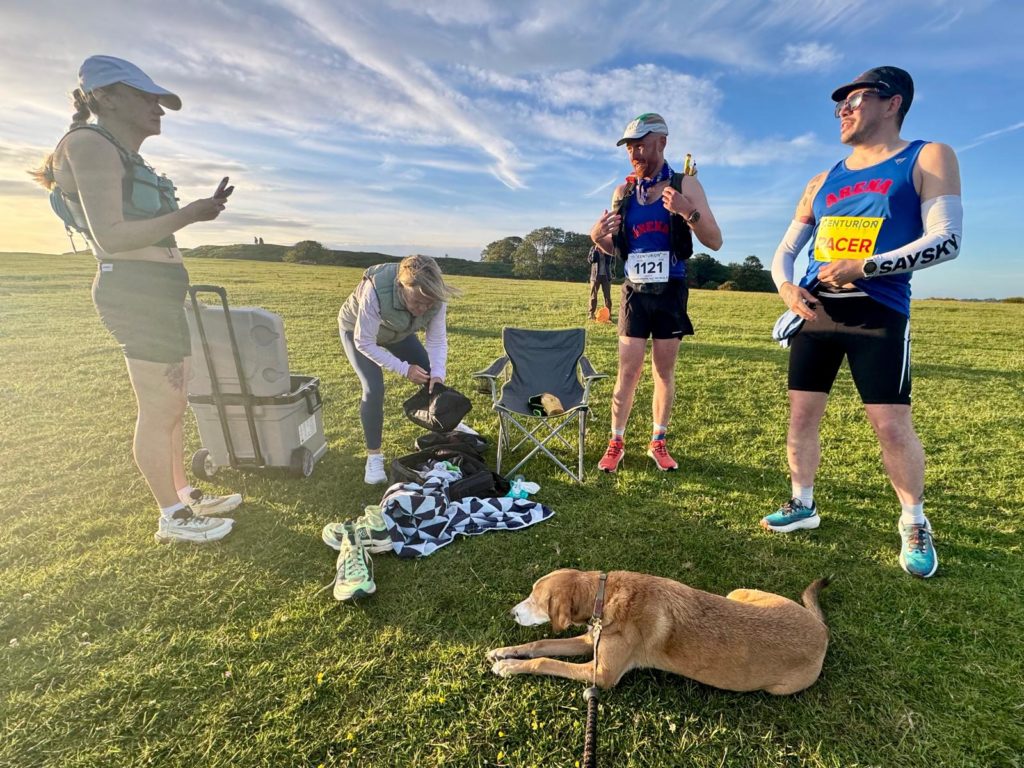
Just after the crew point, you cross the road and then head along a path for a little under a mile before a sharp downhill to the next main road. You’re now mere metres from Saddlescombe aid station, where again you can pick up hot food, although if you have crew it could be worth the wait to Clayton Windmills, which is only about three miles further along.
As with most of the aid stations, there is a big climb following Saddlescombe and a downhill on the other side shortly before you cross over the A23 trunk road. You then go up a tarmac path, past a church on your right and through a small village. There will be another main road ahead of you, but watch out for a SDW signpost to take a path by the side of the road. Cross over by Pyecombe Golf Club and take the uphill path alongside it.
You run alongside the golf course for three quarters of a mile or so before you take a left to end up at Clayton Windmills. I arrived here as the sun was beginning to set, the windmills silhouetted against the sky and crews gathered around their cars in the fading light – one of the more memorable moments of the race. There is plenty of room here to switch pacers, but be warned that the walk for your crew from the car park is up a short incline.
After leaving, you proceed up a short incline and it’s then fairly undulating all the way to Ditchling Beacon. Take care when crossing the main road and then you’ll once again be on runnable, undulating terrain with some lovely views over towards Newhaven.
The next point to concentrate on is a right turn just before Blackcap, which is clearly signposted as the South Downs Way. Don’t go through the gate immediately in front as you’ll go off course and end up in the town of Lewes.
There’s a short part through some trees before you run along the edge of a farmer’s field. After going through a gate, there’s a left turn that takes you in the direction of the next aid station at Housedean Farm. Again you’re on the edge of farmer’s fields here and when you can’t go any further, take the right turn. It’s then more downhill before you reach a steep uphill through the woods and after exiting the woods through the gate, it’s a fast downhill to the edge of the A27 main road at the bottom.
Around 50 metres further along is Housedean Farm aid station, where you can access a drop bag if you have one. This one is indoors with plenty of seating and I tucked into a bowl of pasta here – straightforward fuel at the right moment.
Exit Housedean Farm and take the road bridge over the A27 and down the road on the other side. It’s then a case of following the path until you hit a sharp uphill that leads to a steady climb that lasts for the best part of two miles and includes a left turn. At the top, it’s a nice descent before you run across grass for half a mile above the village of Kingston down below.
There’s then another uphill with an undulating run across the top of the ridge that gets you to what is known locally as the Yellow Brick Road, a downhill road that gets you to the next field. Whilst passing through the second field, you go across the Greenwich Meridian – at this point you’re roughly 17 miles from the finish line.
For many runners it will be dark by this point, so be warned that there is a sharp downhill coming up before a farm track that has plenty of pot holes. At the end, follow the SDW sign to take a right uphill where you then cross a main road. Follow the road all the way across the river until you reach Southease railway station. You must cross the track using the footbridge – failing to do so risks a time penalty. Southease aid station is a little way up the road on the other side and the third from last.
From here on in, there are three large climbs between you and the finish. The first of these is up Firle Beacon with the main part coming immediately after the aid station. When going up, you get a great view back across the course you covered around an hour before – the head torches of runners behind you in the fields mark out the route, and it’s quite something to see.
After passing the trig point on your left, you’ll go past a communications mast on your right and you’ll then be a short jog downhill away from the crew point at Firle Beacon. It’s then more steady uphill to get you to the top and then you’re back on a downhill for the majority of the way to Bo Peep car park, which is the next crew point.
Following this you take a quick uphill and then it’s mostly downhill all the way to Alfriston aid station in two miles time. You can’t go wrong as long as you follow the SDW finger posts and take extra caution on the final downhill section as it can get flinty. When you get into Alfriston, it’s a right at the road through the village and then a left down a narrow path between two buildings. The aid station is down here on your left, inside a church hall.
Exit the aid station and continue down the same path. Cross over the bridge and continue straight on, ignoring the alternate SDW route to your right. Keep going until you reach a gate on your left and go through it. Head down the path that runs alongside the flood plain and keep right. At the end of the field go through the gate, cross the road and head uphill. You’ll get to a road crossing and then you continue the ascent around the hill that has the Long Man of Wilmington on the side.
Reach the top and you then head across plenty of fields until you reach a gate that signals the start of the descent into Jevington. On your way down the first descent, there is a slight right turn and after this you’ll be into a path with plenty of roots so take care.
When you reach the church take a left along the edge of the graveyard and then head down the steps onto the road. The final aid station is up a path on the left hand side inside a village hall. If you don’t need it, continue on down the road and take the turning with a fingerpost for the SDW.
Take the correct left turn – there is a left turn just before the correct one. Make sure you don’t take it, as I did on the day. It’ll cost you a couple of minutes when you realise you’ve gone wrong.
Now you’re almost on the home straight. The next stretch is almost uphill the entire way to the trig point and the gulley of doom. Of the final three uphills, this one is the most runnable of the three, especially in the early stages. When you reach the top, the gulley is well signposted but it is worth a recce if you can.
The gulley itself is sketchy and I’ve known people to fall whilst descending so take care. When you reach the bottom, you come out onto a short piece of road before taking a right onto a flat trail for around half a mile. At the end of this, go through the gate and take a slight left as you go across the road and take the road straight ahead. The remainder of the course is on tarmac and if you’ve got anything left, give it some.
When you reach the end of the first road, cross over and take a right. You can then follow the pavement until you get to the main roundabout by the hospital. You then dip down onto the path through the woods and this is the run to the finish. Give it everything along here – I managed to pass five or six other runners on this stretch.
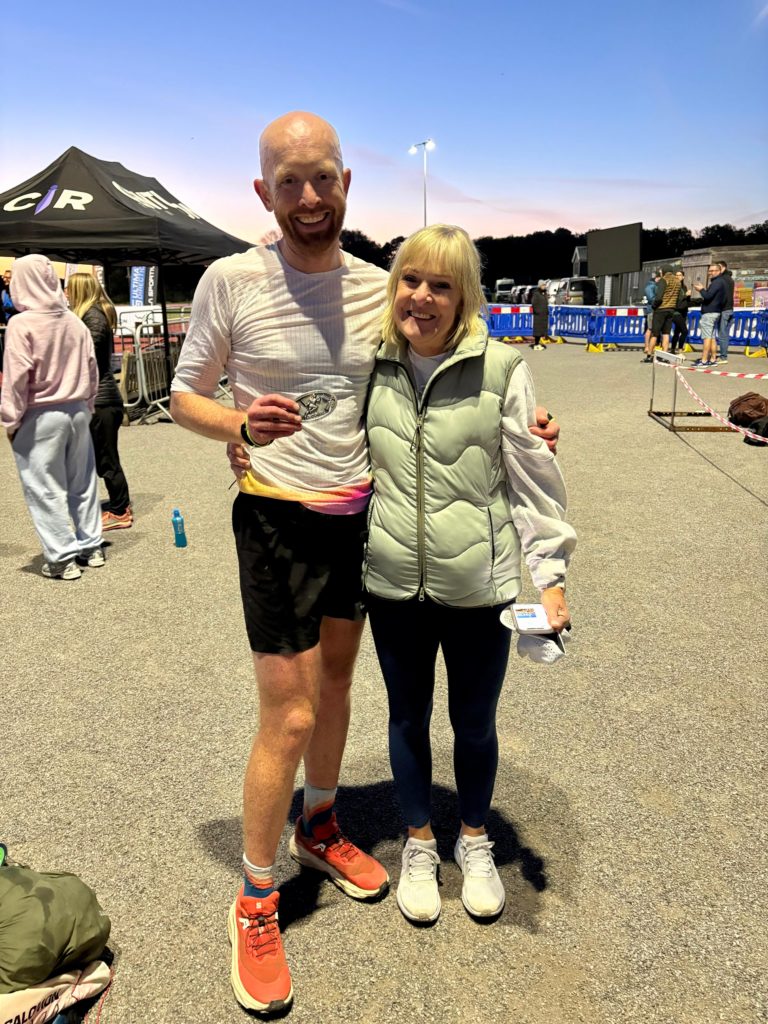
You’ll get to the road leading to the track. Go up the road and take a right to enter the track. Complete a 400 metre loop of the track and you’re done. One of the volunteers will hand you a buckle and you can retire to the food tent for a well-earned feed.
What do the course markings look like?
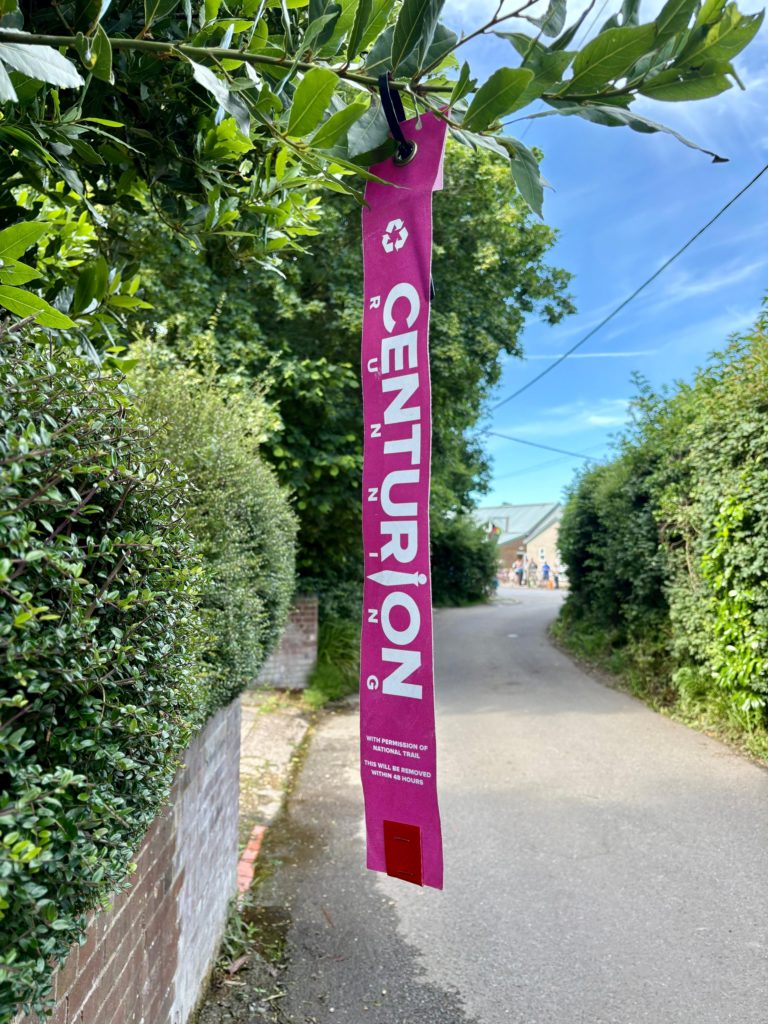
The way Centurion mark the course combined with the South Downs Way finger posts make it tricky to get lost. When out on the course, pink pieces of fabric and pink arrows are used by Centurion to mark the course. At night, these glow in the dark and make it easy to find the correct way to go.
What is each aid station like
One of the things that marks out Centurion as a leader when compared to other races is the aid stations. The volunteers are all knowledgable and the items on offer means that fuelling your race is made easy. The table below gives a quick snapshot comparing the key points of each aid station.
| Aid station | Mile | Size | Hot Food | Toilet | Drop Bag |
|---|---|---|---|---|---|
| Beacon Hill Beeches | 11.4 | Small | ❌ | ❌ | ❌ |
| Queen Elizabeth Country Park | 23.4 | Large | ❌ | ✅ | ❌ |
| South Harting | 28 | Small | ❌ | ❌ | ❌ |
| Cocking | 36.6 | Medium | ❌ | ✅ | ❌ |
| Houghton Farm | 45 | Medium | ❌ | ❌ | ❌ |
| Washington | 55 | Large | ✅ | ✅ | ✅ |
| Botolphs | 60.9 | Small | ✅ | ❌ | ❌ |
| Saddlescombe Farm | 66.6 | Medium | ✅ | ✅ – public | ❌ |
| Housedean Farm | 76.6 | Large | ✅ | ✅ | ✅ |
| Southease | 84 | Medium | ✅ | ✅ | ❌ |
| Alfriston | 91.6 | Medium | ✅ | ✅ | ❌ |
| Jevington | 95.7 | Small | ❌ | ✅ | ❌ |
Every aid station is well stocked with plenty of fuel and I’ve created a table below to give you an idea of the different options in each fuelling category.
| Category | Options |
|---|---|
| Electrolyte drink | Precision Fuel & Hydration 1000 |
| Carbohydrate drink mix | Tailwind |
| Gels | Precision Fuel & Hydration 30g gel. Gu Gels |
| Chews | Precision Fuel & Hydration 30g chews |
| Cold drinks | Water, Coke/Pepsi |
| Hot drinks | Coffee, tea |
| Sweet cold food | Chocolate, sweets, biscuits, cakes |
| Savoury cold food | Crisps, sandwiches, wraps, mini sausage rolls, mini vegan rolls, salted boiled potatoes |
| Savoury hot food | Pasta with sauce |
Aid station Tailwind is weak – If you are expecting the same level of carbohydrate as you find in a single stick pack then you’ll end up being under-fuelled. The Tailwind served at aid stations is more diluted and I only used it later in the race when my stomach was not playing ball with higher carb content drinks.
What is each crew point like?
In all, there 13 crew points on the course from Queen Elizabeth Country Park at mile 23 all the way to Bo Peep at mile 89. Each one offers a chance to meet your crew and to replenish supplies. Some of the crew points are located close to the aid stations whereas others, especially in the second half, don’t have an aid station close by. I’ve compared the top line stats in the table below and then looked at the crew points in more detail below it.
| Crew point | Mile | Aid station close by | Crew access | Pacers permitted |
|---|---|---|---|---|
| Queen Elizabeth Country Park | 23.4 | ✅ | Specific crewing area 100-300 metres from the car park. | ❌ |
| Harting Downs | 29.2 | ❌ | Grass next to the South Downs Way. 50 metres from the car park | ❌ |
| Cocking | 36.6 | ✅ | Crew vehicle can park directly next to course. | ❌ |
| Bignor Hill | 43.8 | ❌ | Crew vehicle can park directly next to course. | ❌ |
| Houghton Farm | 45 | ✅ | Crew vehicle can park directly next to checkpoint and runners can be crewed there. | ❌ |
| Kithurst Hill | 51 | ❌ | Crew vehicle can park directly next to checkpoint and runners can be crewed there. | ✅ |
| Chantry Post | 52 | ❌ | Crew vehicle can park directly next to course and crew runners as they come past. | ✅ |
| Washington (Crew) | 56 | ❌ | Crew can meet runners 100m from the car park or runners can veer off course to the car park. | ✅ |
| Devils Dyke | 65.7 | ❌ | Specific crewing area 100-500 metres from the car park. | ✅ |
| Clayton Windmills | 69.8 | ❌ | Specific crewing area 400 metres uphill walk from the car park. | ✅ |
| Firle Beacon | 86.4 | ❌ | Crew vehicle can park directly next to course and crew runners as they come past. | ✅ |
| Bo Peep | 89 | ❌ | Crew vehicle can park directly next to course and crew runners as they come past. | ✅ |
Queen Elizabeth Country Park – after descending Butser Hill, after going past the parked cars you’ll eventually come to the crew area. It’s a decent sized area to meet your crew, but be warned that it’s a decent walk from the car so make sure your crew know what you’ll want.
Harting Downs – this is the most picturesque setting for a crew point in the first half of the race. Crews can park up in the National Trust then crew the runners on the course, which is a short walk across the grass.
Cocking – located directly next to the aid station, this was one of my favourite crew points as you can directly access your crew vehicle and like Harting Downs this is directly next to the course. I recommend topping up on supplies here as the next crew point (Bignor Hill) is very remote and the gap to the next aid station or crew point is nine miles (Houghton Lane).
Littleton Farm is halfway between Cocking and Houghton Farm. It has a Cadence cafe, which offers decent food (I particularly recommend) the chocolate brownie if they have it. There is also a water tap.
Bignor Hill – I didn’t use this crew point as the communication from Centurion is that it is a remote point that is tough to drive to. As I stated above, a better option is to stock up at Cocking or use Littleton Farm as a cheat code.
Houghton Farm – you access this crew point by going through the aid station and it’s another one where I could easily access the car.
Cooling off at the Amberley water tap – About five minutes after the aid station at Houghton Farm, there’s a public drinking water tap that is a great place to cool off. On many a long run, I’ve got my head under this tap to cool off and on a hot day there’s nothing better.
Kithurst Hill – the first point you can pick up a pacer and another one where you can be crewed on the course. I went to the car park alongside the course to change my shoes and it’s a nice shaded place to quickly cool down.
Chantry Post – this is only a mile after Kithurst Hill and a much smaller car park. Trail fairies here are known for handing out ice pops on hot days
Washington – another location that I didn’t use for my crew as it’s only a mile after the large aid station at Washington. This one would be a good location to pick up a pacer as it is easier to access than Kithurst Hill and Chantry Post.
Devil’s Dyke – the most familiar location on the route for me and where I picked up my second pacer. The crew spot is on the field by the gate where the South Downs Way crosses the main road. It is a decent walk from the car park to the crew point so make sure you leave plenty of time and try to know what your runner will want.
Clayton Windmills – another beautiful setting where many runners pick up the pacer who will take them through to the finish, which is exactly what I did. The car park is a five minute uphill walk from the crew point so factor this in when crewing a runner.
Firle Beacon – I arrived here in darkness and this is another location where you can crew the runner directly on the course. The views from here, day and night, are top notch and as such I recommend visiting here if your runner asks you to.
Bo Peep – Again you can crew your runner on the trail itself and this is the final location prior to the finish line. It is only 2.6 miles after Firle Beacon and as such I would recommend choosing one location, not both.